Brew Guide - Hario V60

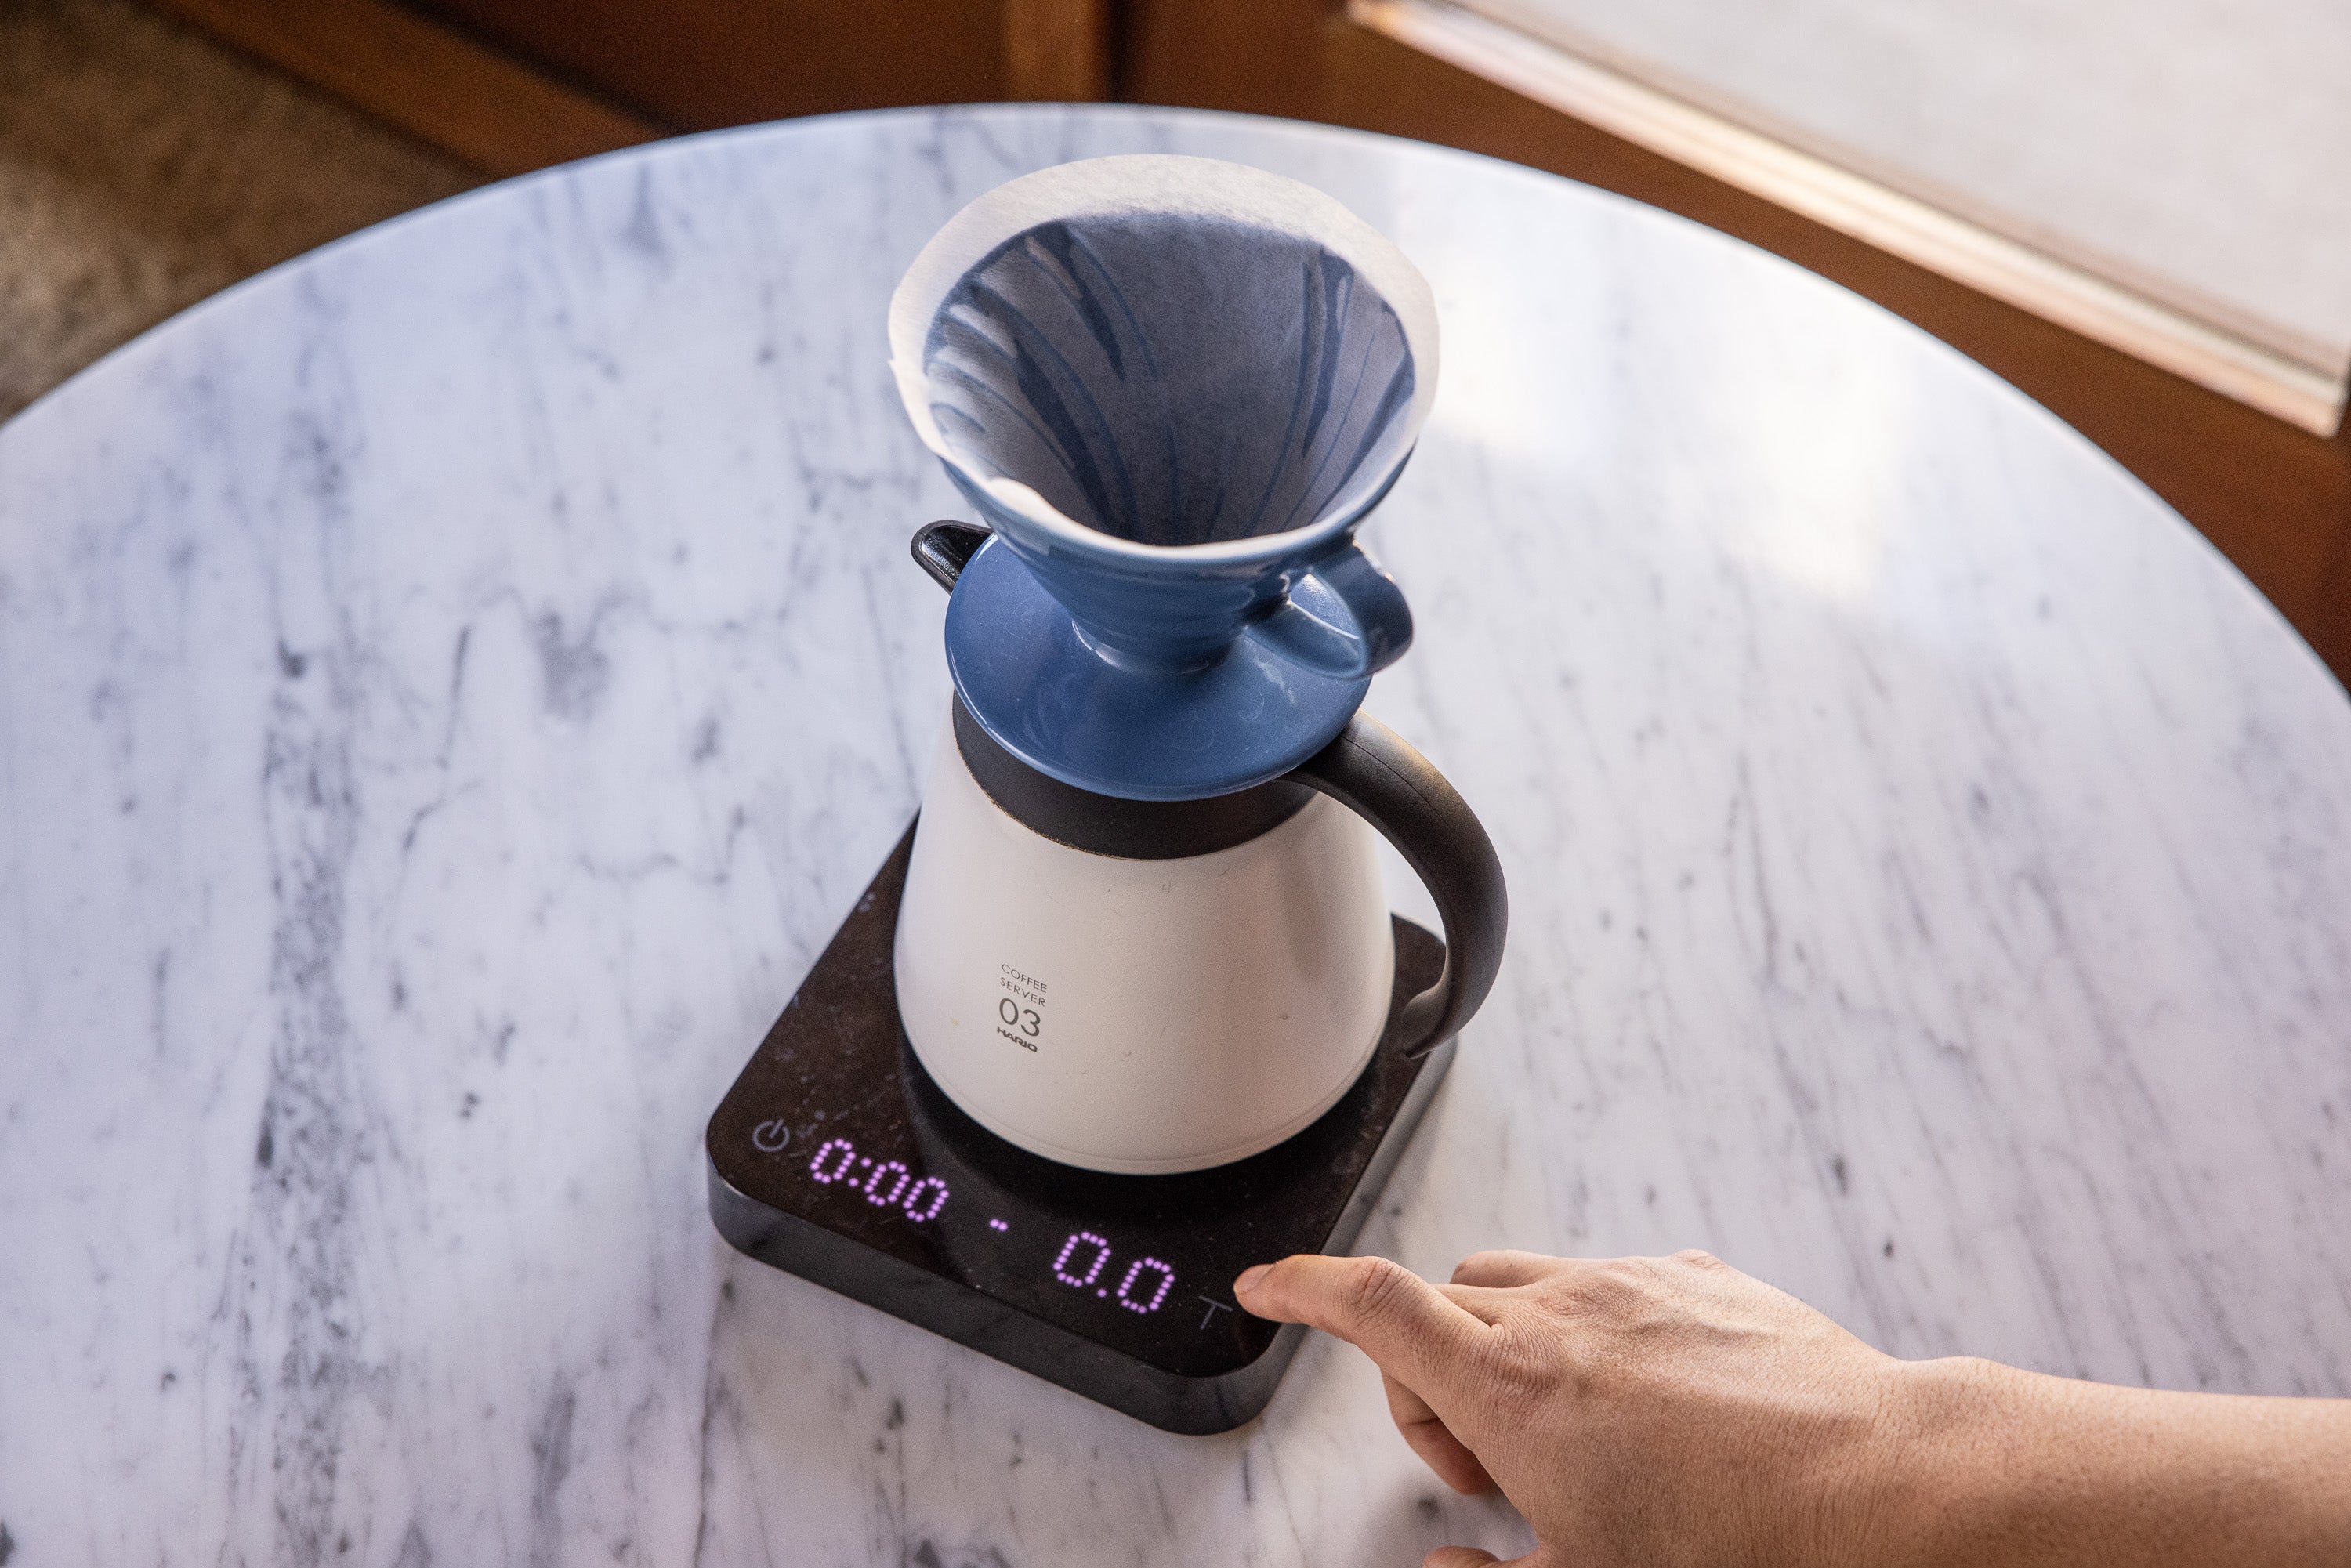
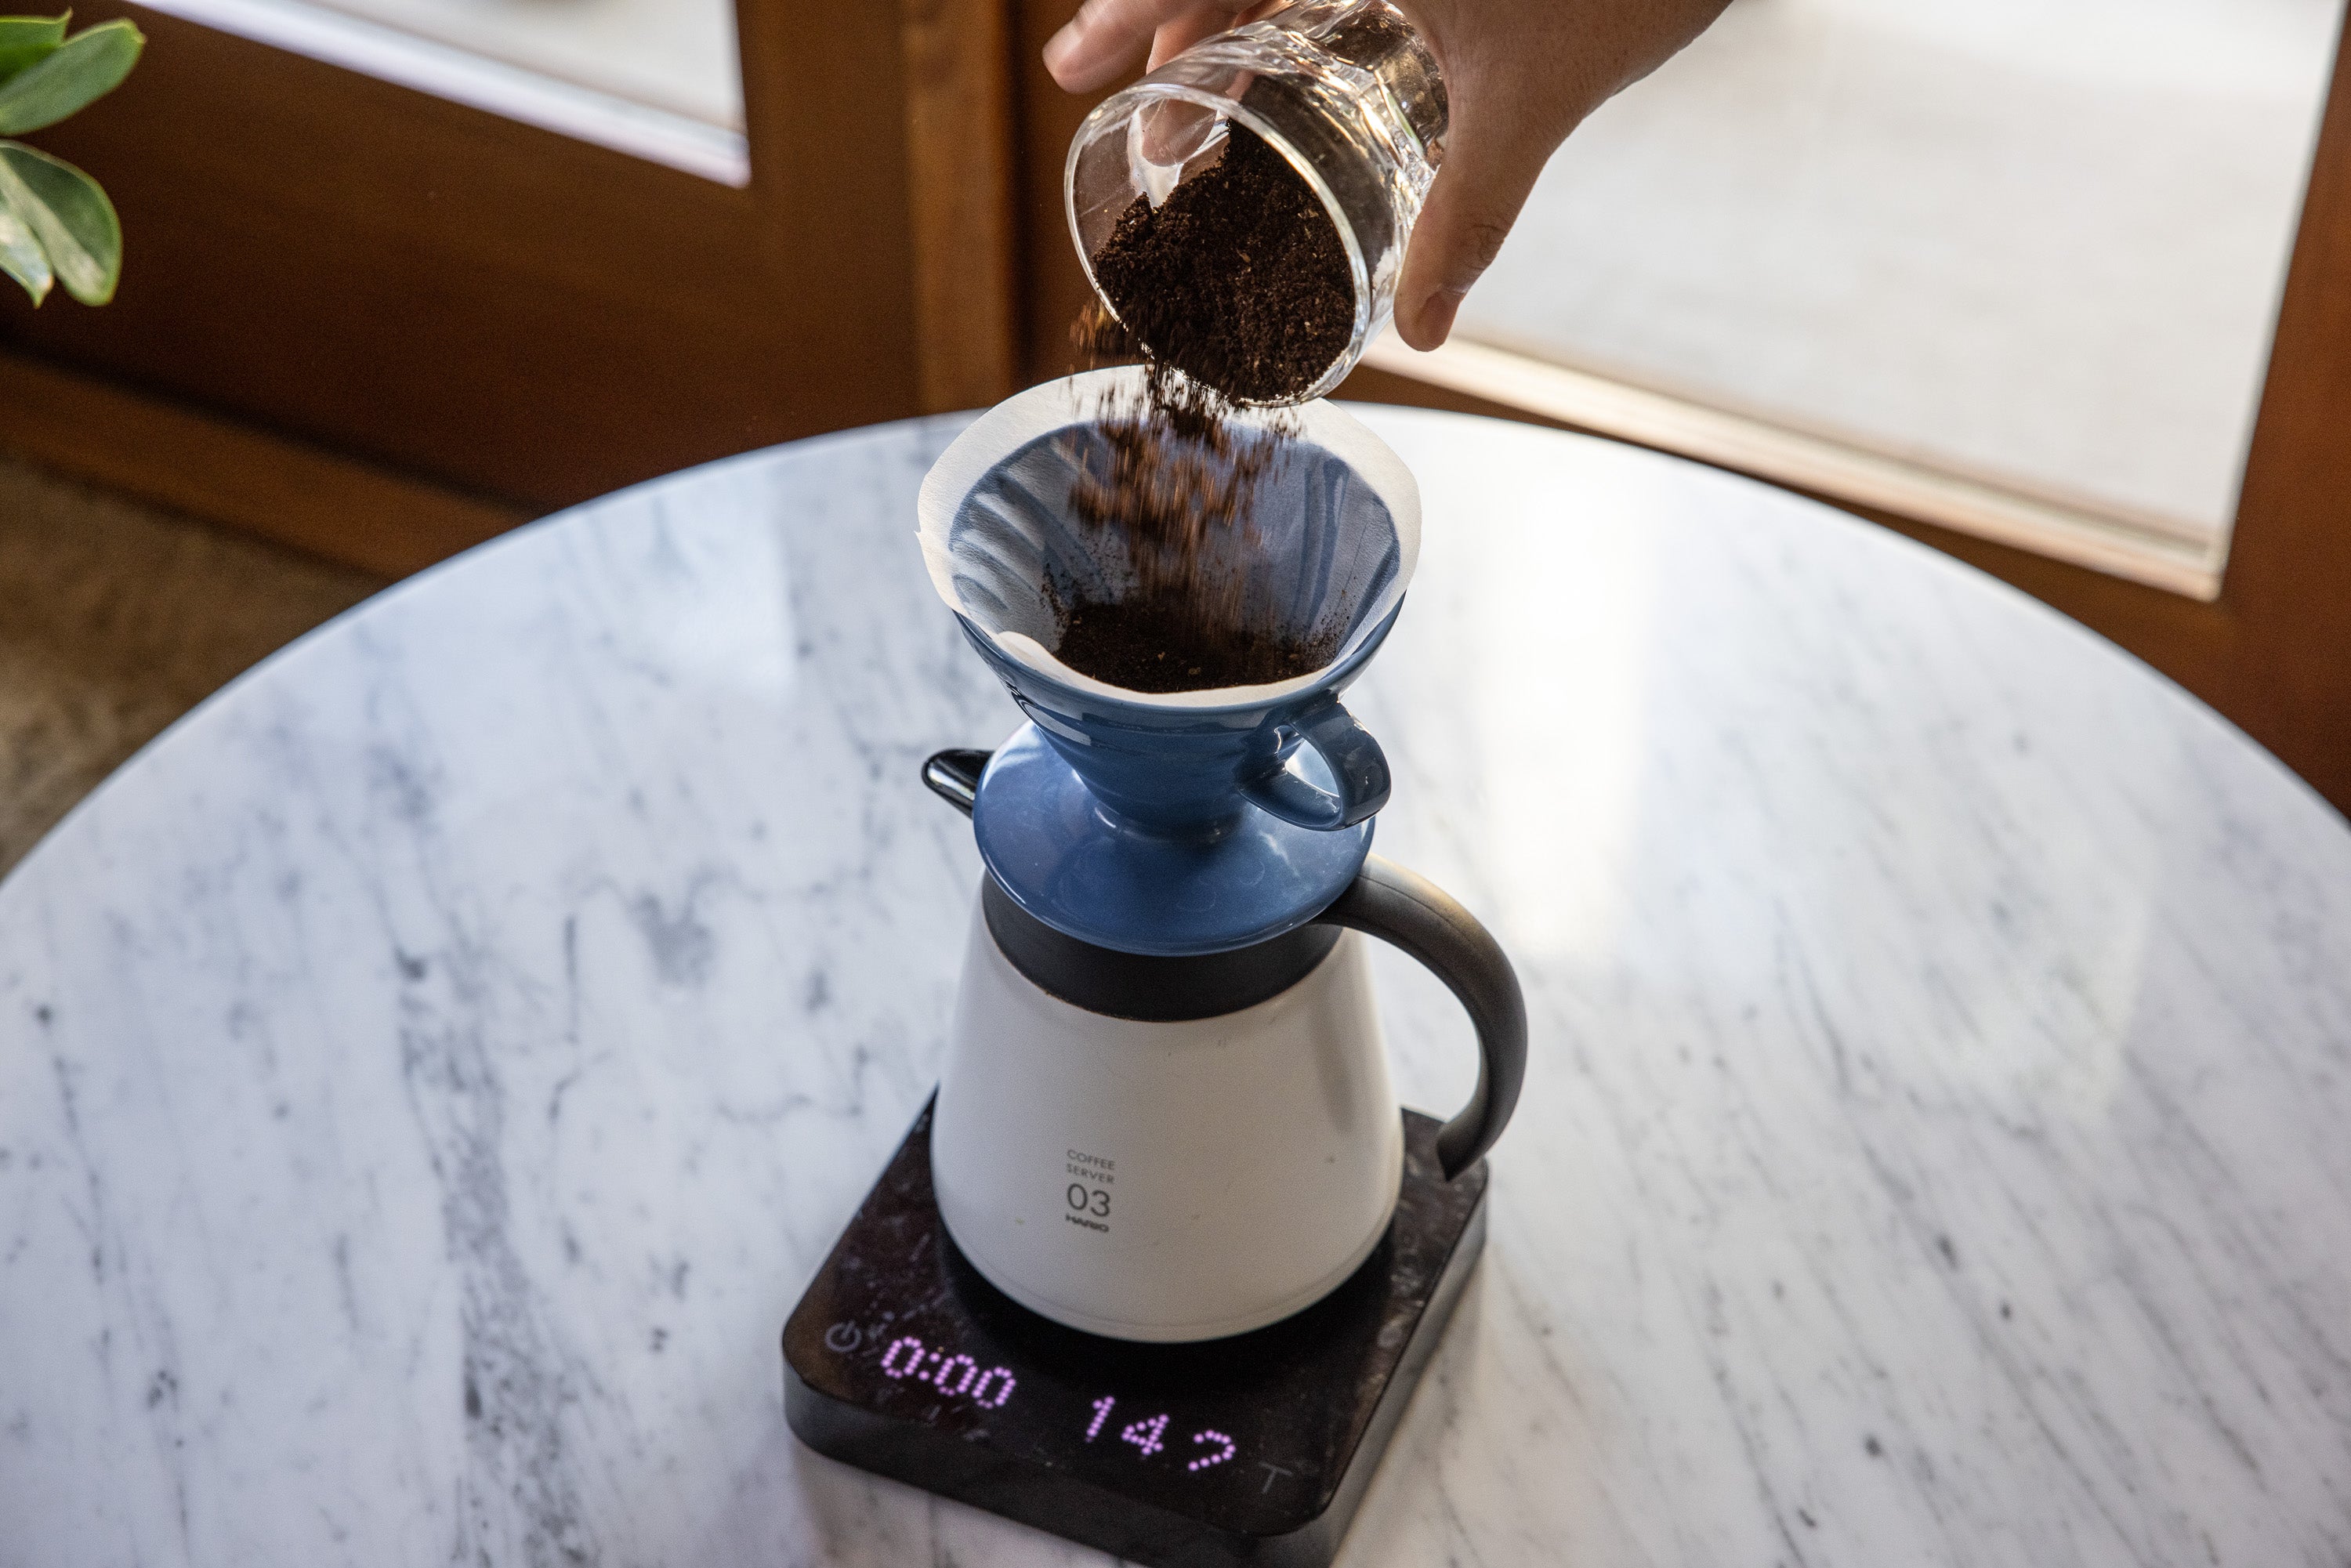
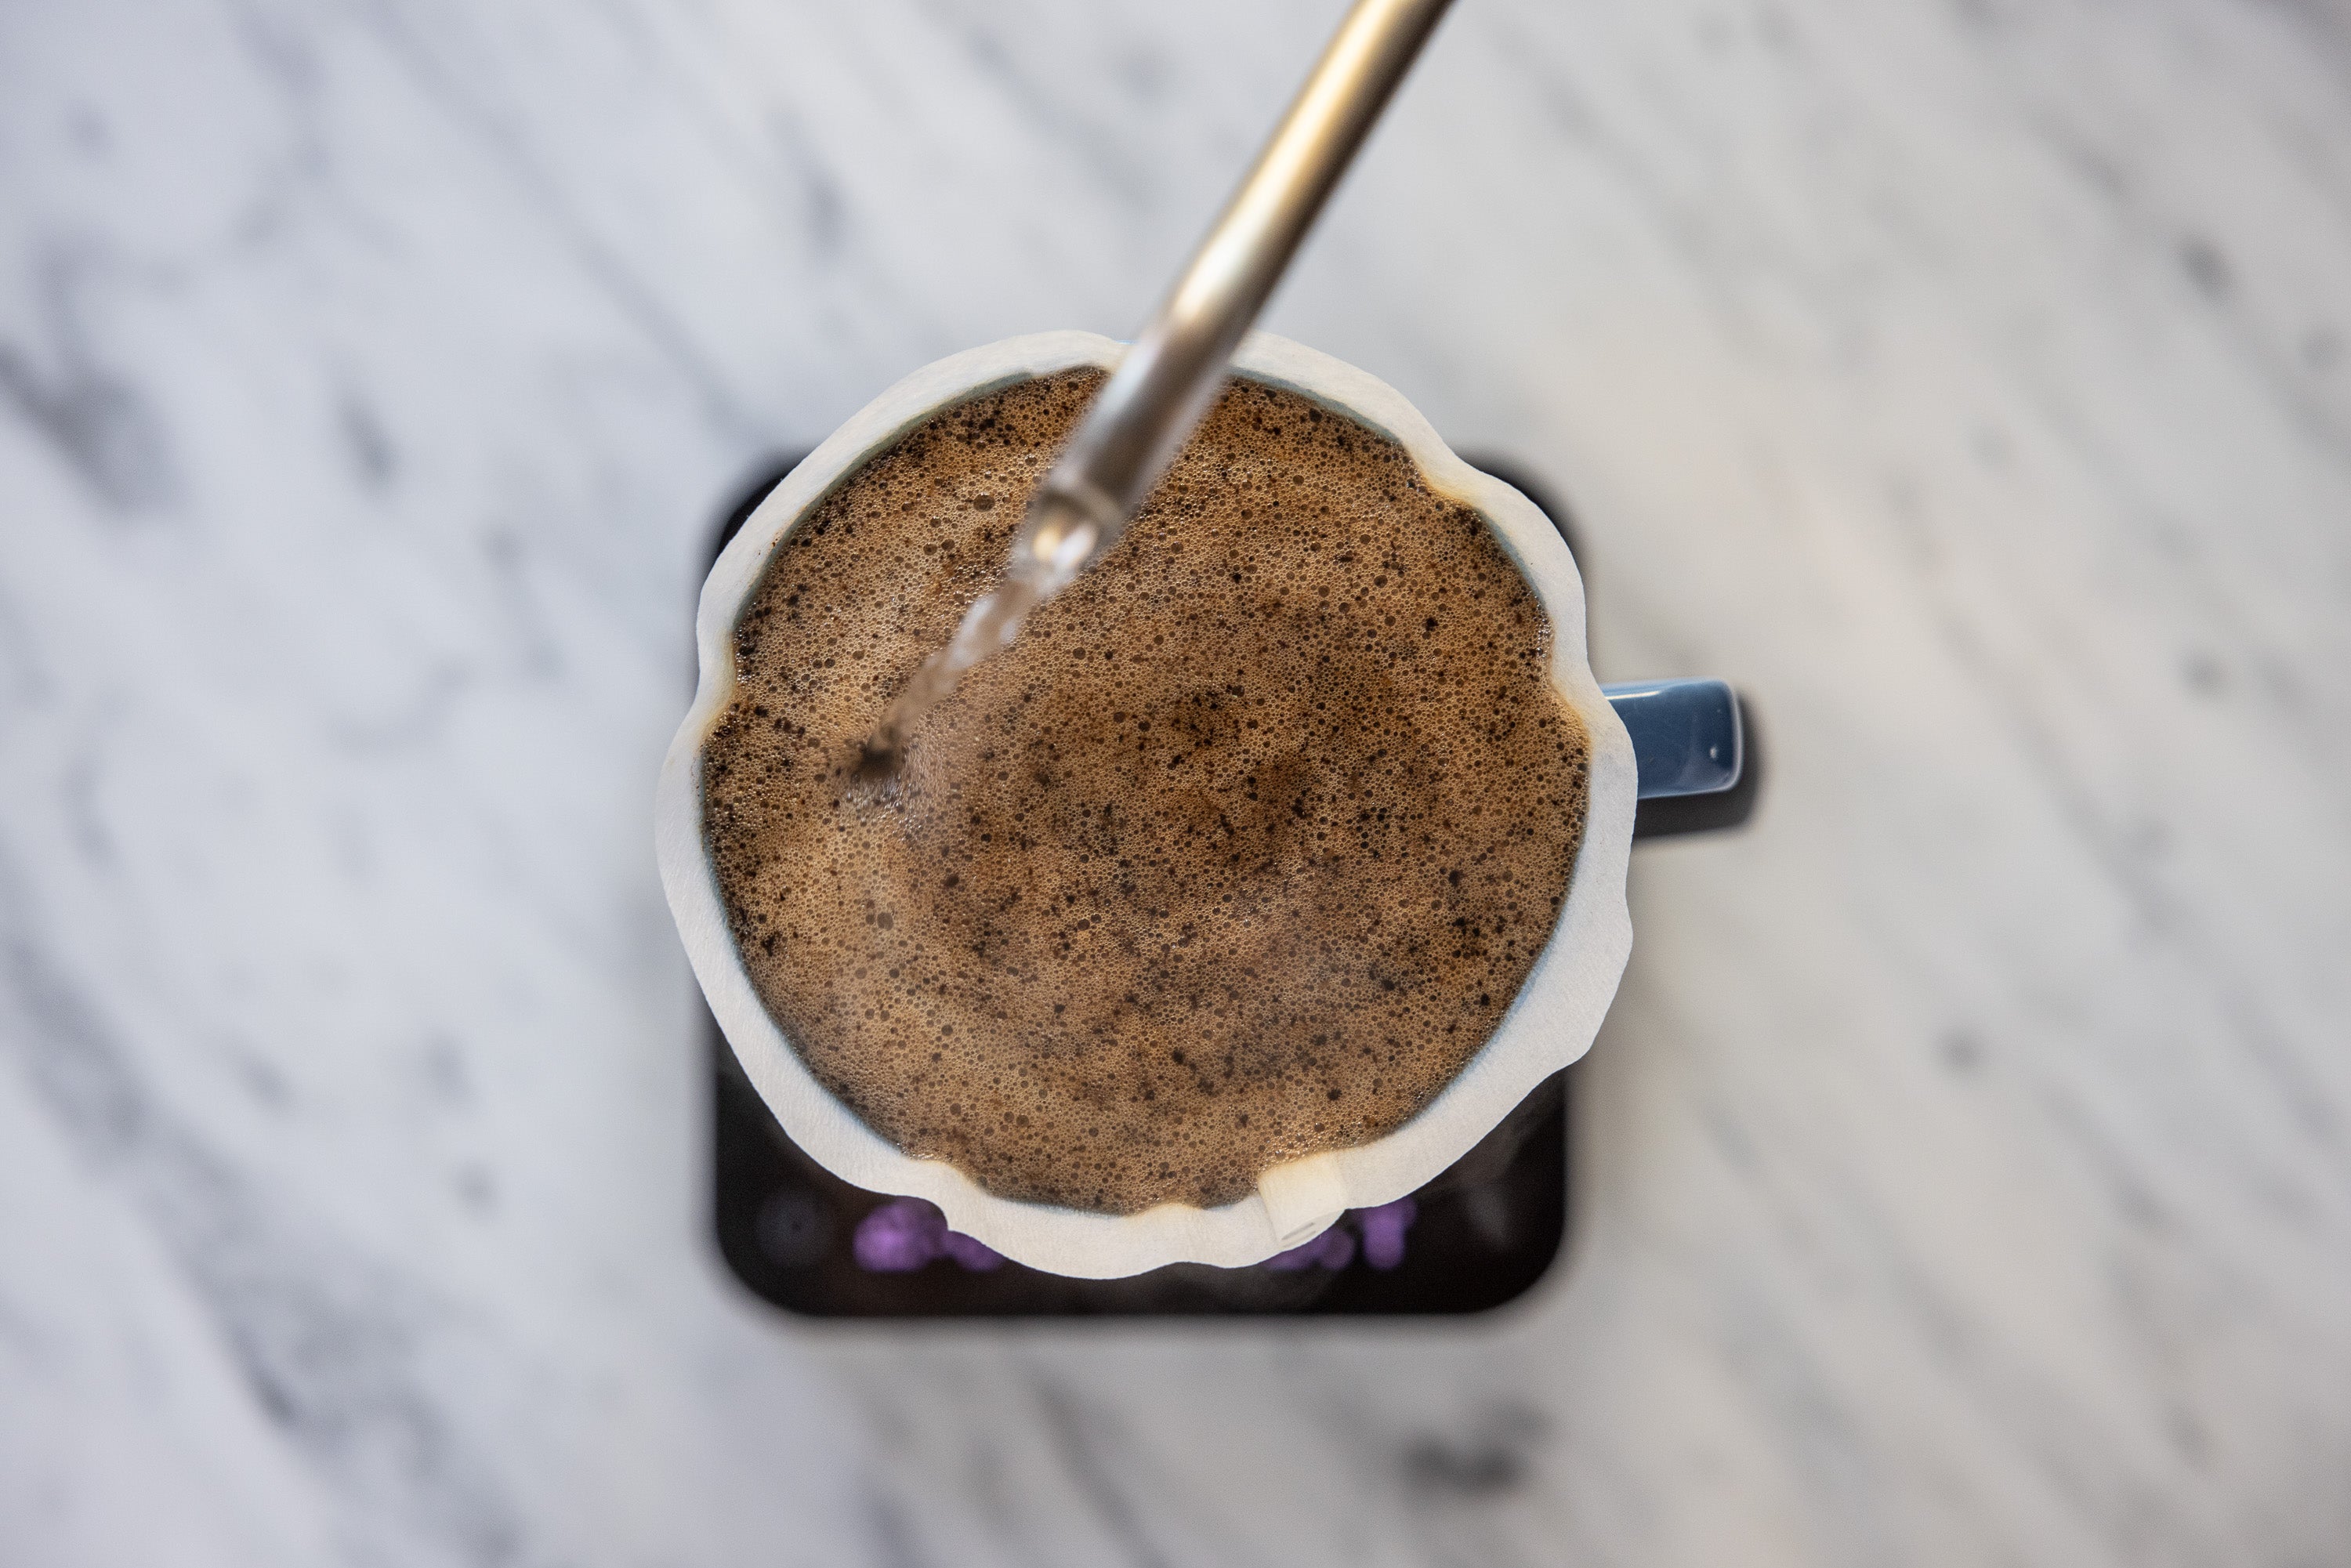
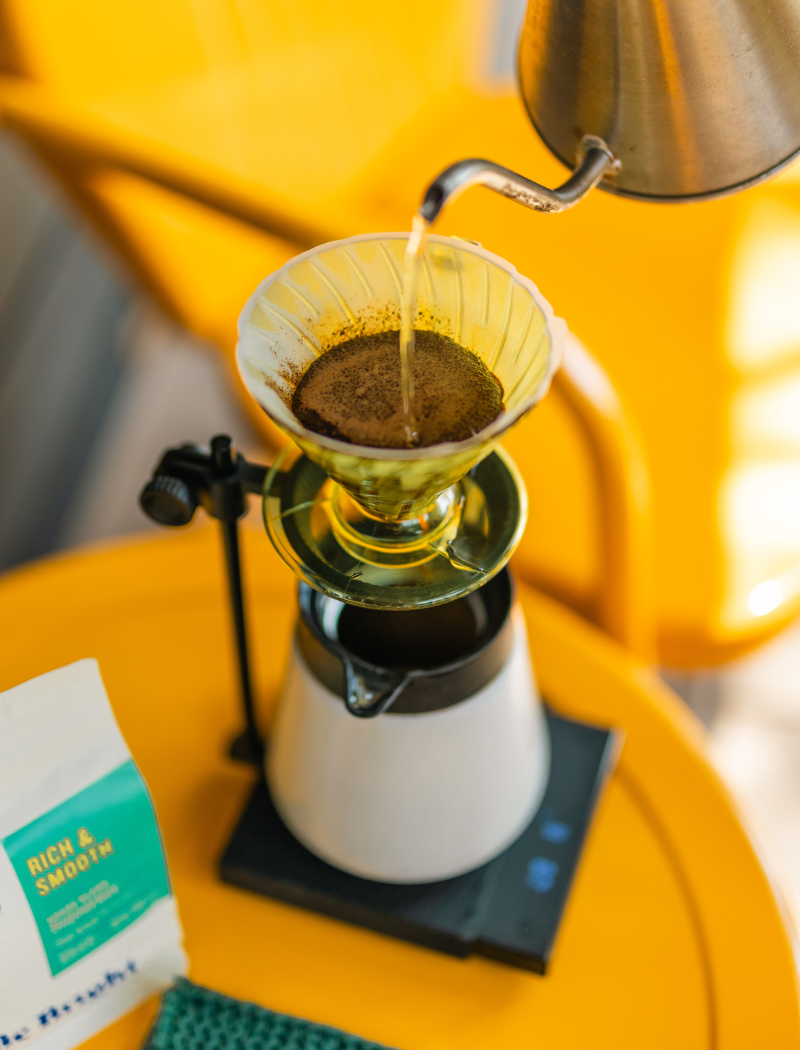
The Hario V60, favored by home baristas and cafes alike, is known for its clean, flavorful coffee extractions. Its 60-degree cone shape, ceramic construction, and adjustable flow control offer precision and consistency in every brew.

Follow this guide to make the most of your V60 experience!

Things you will need:

  • Hot Water (12 oz / 415 g @ 210 F)

  • Hario V60

  • Hario Paper Filters

  • Gooseneck Kettle

  • Range Server

  • Scale (Optional)

Sign up to our newsletter

Receive special offers and first look at new products.

1. Heat Up Your Water

Fill your kettle and bring to a boil.

Step 1

2. Pre-rinse Filter and Brewer

Take a Hario V60 paper filter, set it into the brewer and rinse thoroughly with hot water. This accomplishes two things: (1) helps get rid of the papery taste, and (2) pre-heats the brewing vessel. Make sure the filter is snug on top of the V60.

Step 2

3. Weigh Out Coffee

Weigh out your coffee to 26 grams if you have a scale. If you don't, about 4 tbsp is a good rough estimate. Adjust your grinder to give you a medium to medium-fine grind setting. Should look like kosher salt.

Step 3

4. Tare Your Scale

Place the Hario V60 back on the scale (without any water or coffee) and tare to zero.

Step 4

5. Grind Your Coffee

Once the water has reached boiling temperature, grind your coffee and add it to the Hario V60. Confirm your dosage and tare the brewer to zero one more time.

Step 5

6. The Bloom

Start your timer and add 70 - 80 grams of water over the grounds. The goal here is to evenly saturate your grounds to help bloom the coffee and to get them ready for extraction.

Step 6

7. First Pour

The first pour is important in setting up your foundation for the rest of the brew. After the 30 second bloom time, we're pouring up to 200 grams on our first pour. This is close to half the total amount of water we'll be using to brew. Focus on your technique here by pouring from the center and working your way out to the edge of the coffee bed in concentric circles.

Step 7

8. Second Pour

At around the 1:00 to 1:15 minute mark, we can start our second pour. We also want to make sure to add our second pour before the water from the first pour fully drains out through the coffee bed. So we're adding the second pour up to the 300 gram mark.

Step 8

9. Last Pour

For our final pour, we're going to guide the water with our gooseneck kettle along the sides of the brewer at the edge of the wall. By doing this, we'll be reincorporating some of the coffees that were left high and dry, and bring them back into the coffee bed. And then we'll work our way back into the center and work our way out. Final pour to 415 grams total.

Step 9

10. The Swirl (Optional)

This is an optional step, but giving the Hario V60 a gentle swirling action as the coffee is drawing down will encourage a more even extraction. We're doing this so that the coffee grinds don't cling to the wall of the V60 dripper as it's drawing down.

Step 10
  • This is the best part: the moment when your day can finally start. You've got a lot to accomplish today. Now go out there and get going. Life starts after the first sip...Be Bright!

  • We'd love to know if you try our brew guide! Tag us on Instagram @bebrightcoffee